前言
TL;DR
2022 年上旬熱衷於軟路由,在 Raspberry Pi 4b 上裝了 openWRT 來玩,使用 USB 網卡作為 LAN NIC,雖然使用上完全沒有問題,但透過 USB 始終有個芥蒂,「就不能多個 pci-e 來接網卡嗎」,於是衝動順勢買了 Mikrotik RB5009UG+S+IN。
RB5009G 為 arm64(ARMv8),系統為 RouterOS v7,透過 ZeroTier 插件可以實現內網穿透以及 VPN,一直以來可在外連回家裡做事,連 Jellyfin 使用起來都很順。
事出必有因,ZeroTier 的服務器在未知的地方,VPN 的設定也是在網頁上設定,即便不需要太過擔心,但若是 ZeroTier 被攻擊,那自己的內網也危險了。後來又遇到一次,在某處透過 Windows rdp 連回家開 VScode 做事,但敲鍵盤會有一到兩秒的延遲,加劇了需要替換掉 ZeroTier 的想法。
frp 是一個由 golang 寫出來的 reverse proxy…,其他的到 github 看比較清楚 XD。
這篇文章主要是透過 frp 建立內網穿透,雖然大部分都在建立 AWS EC2 instance,frp 的建立實在是非常簡單,VPN (maybe WireGuard?)的實現會另外再寫一篇。
事前準備
- 一個 AWS 帳號
- 一台 linux 主機作為 frp client
建立 Amazon EC2
建立執行個體
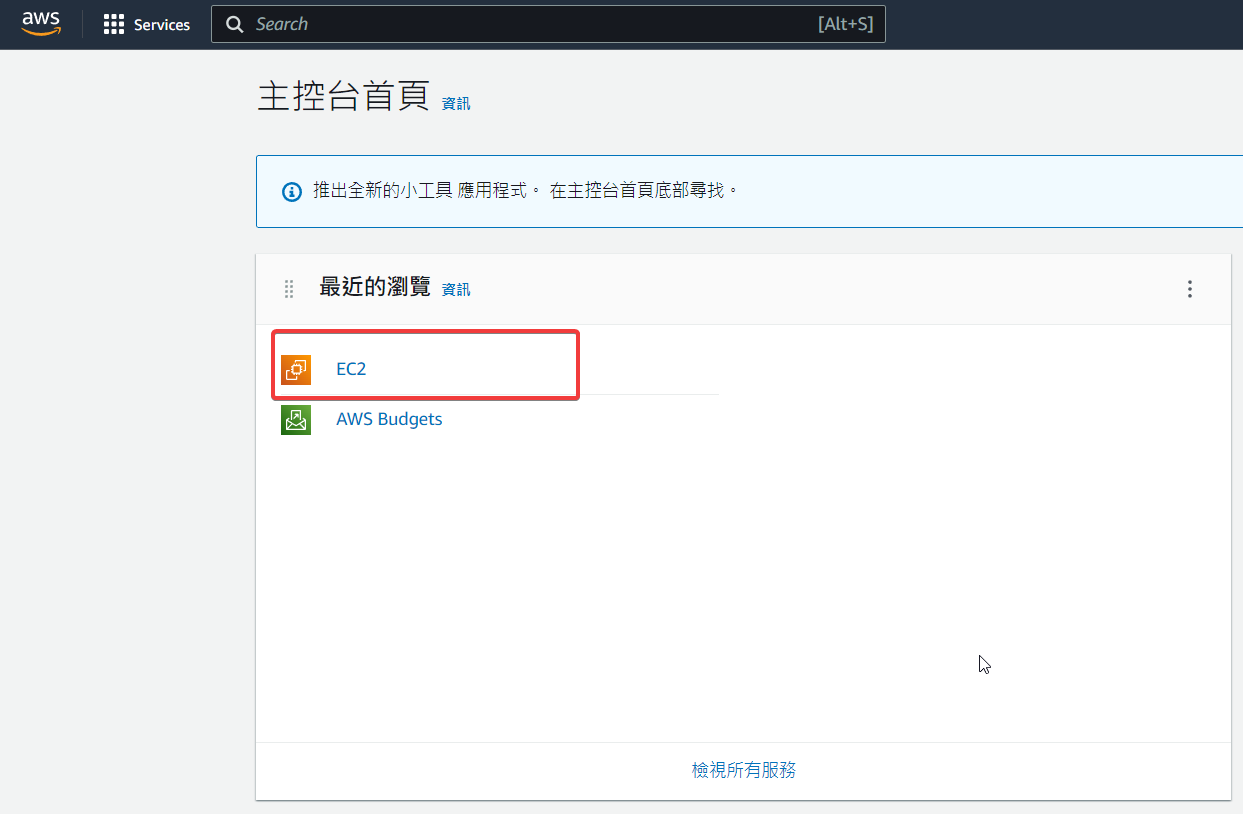
- 建立好帳號後,進入 AWS console,點擊 EC2。
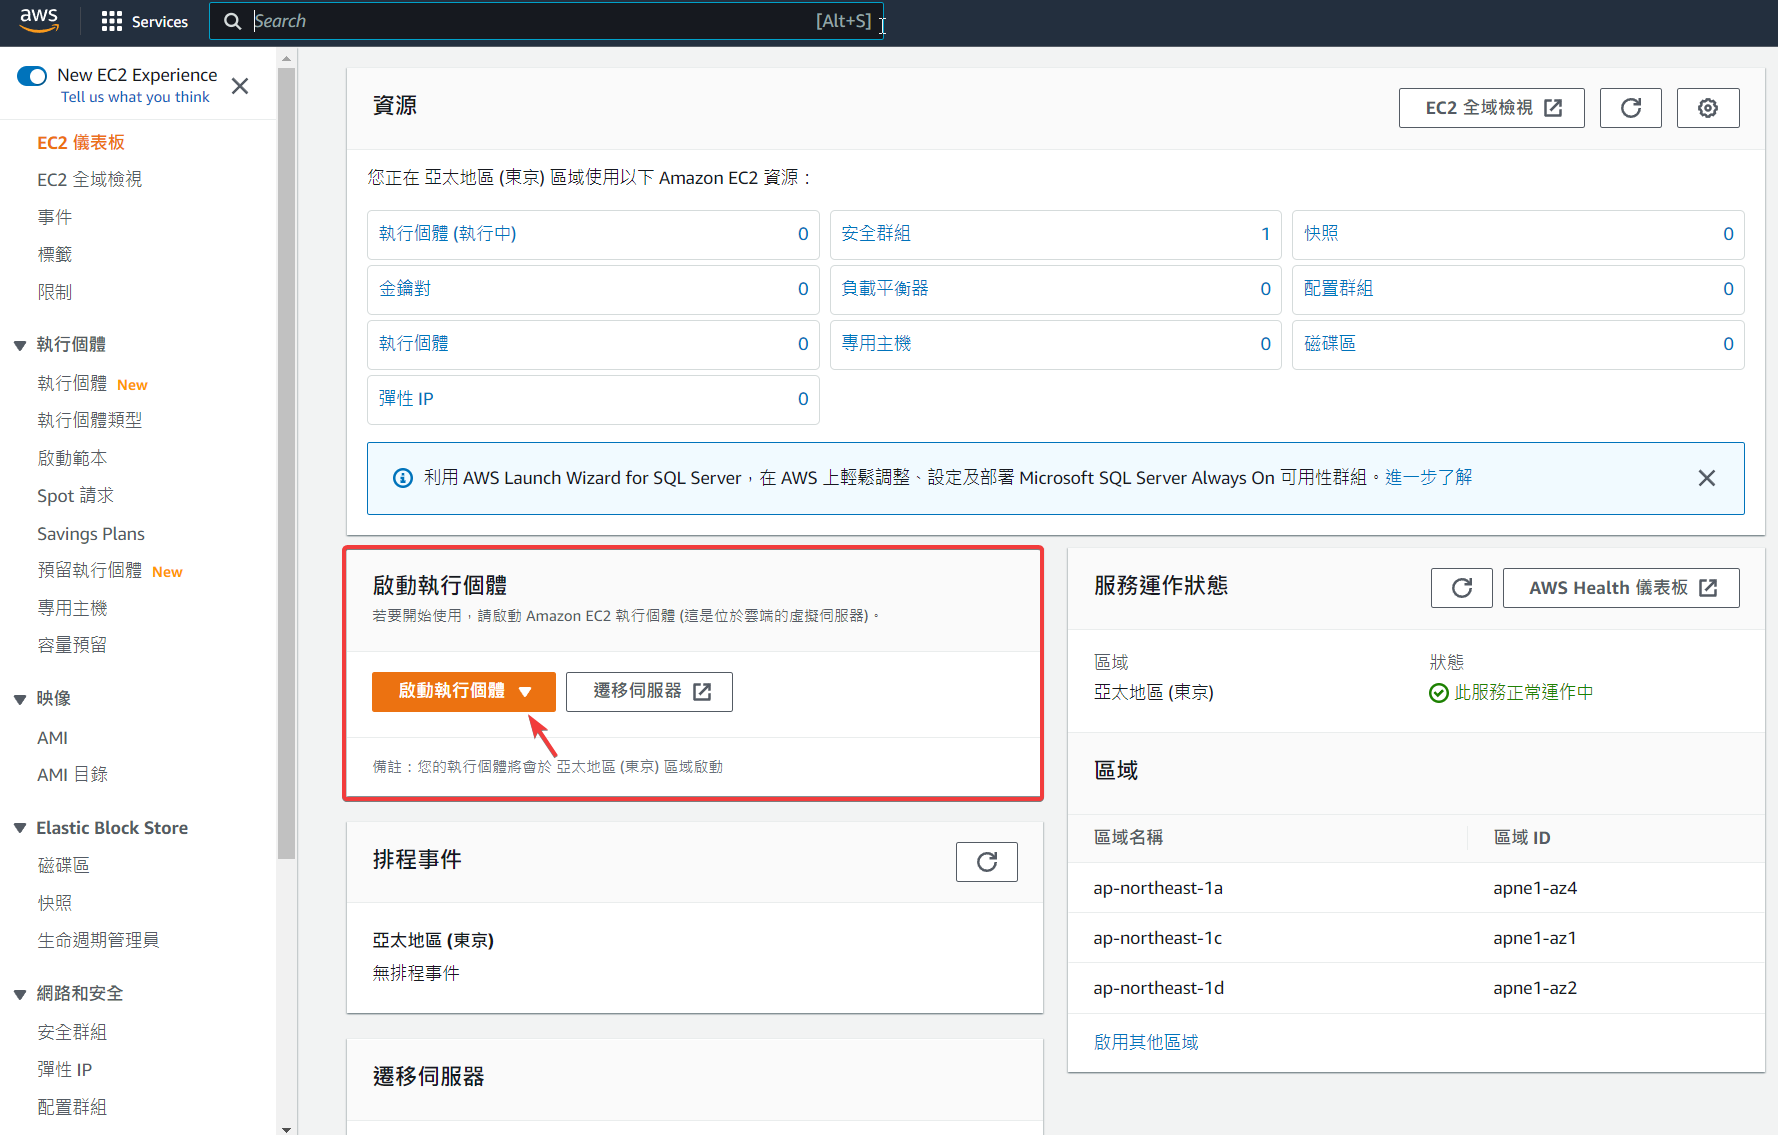
- 點擊啟動執行個體
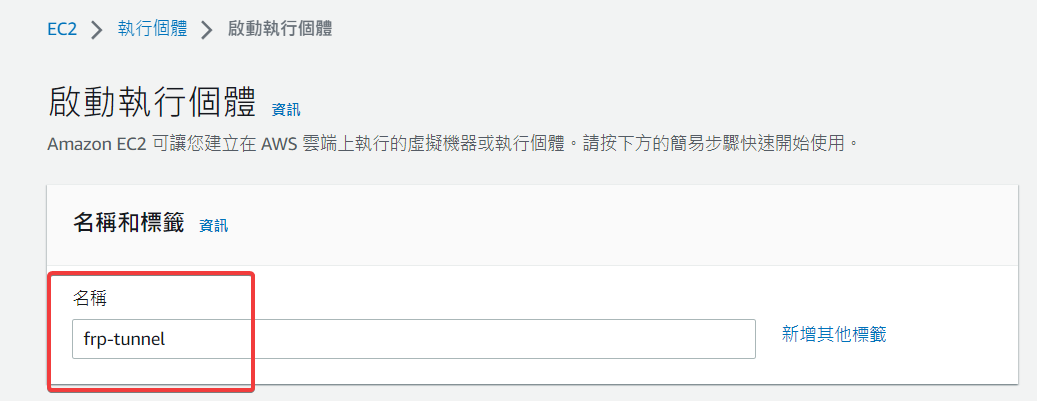
- 取名為 frp-tunnel
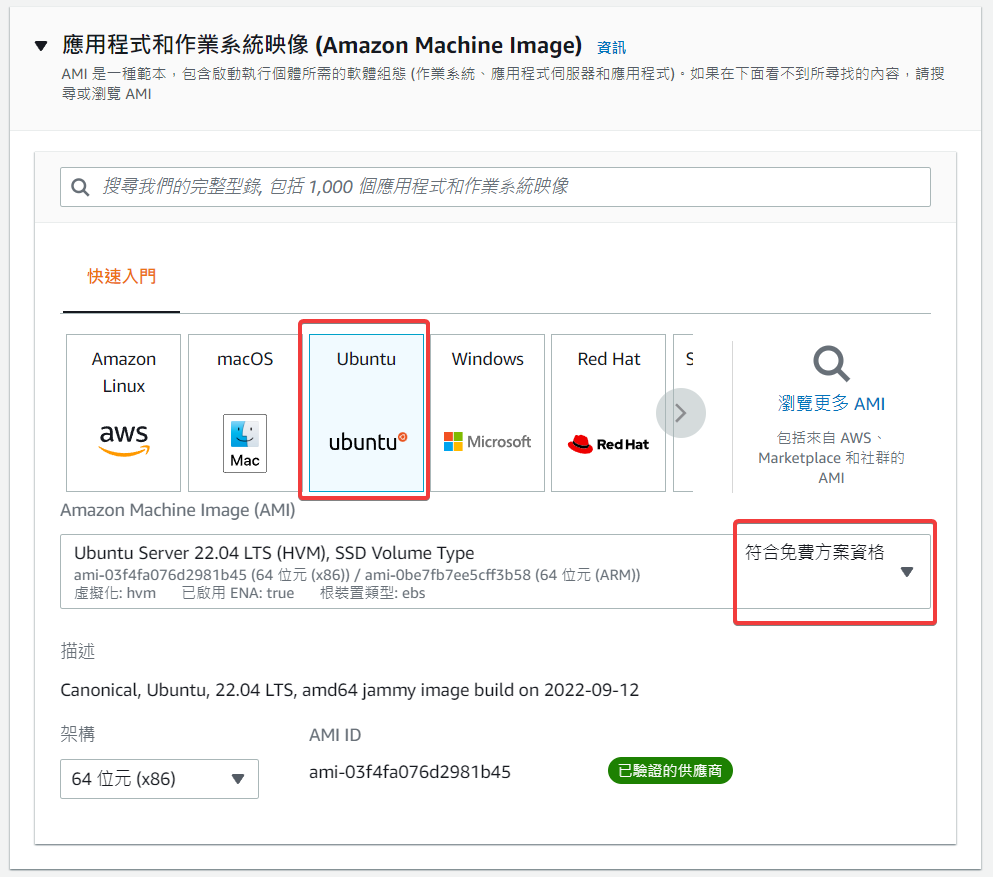
- 選用自己習慣的 linux distro,這邊我習慣使用 ubuntu,故選 ubuntu 22.04。
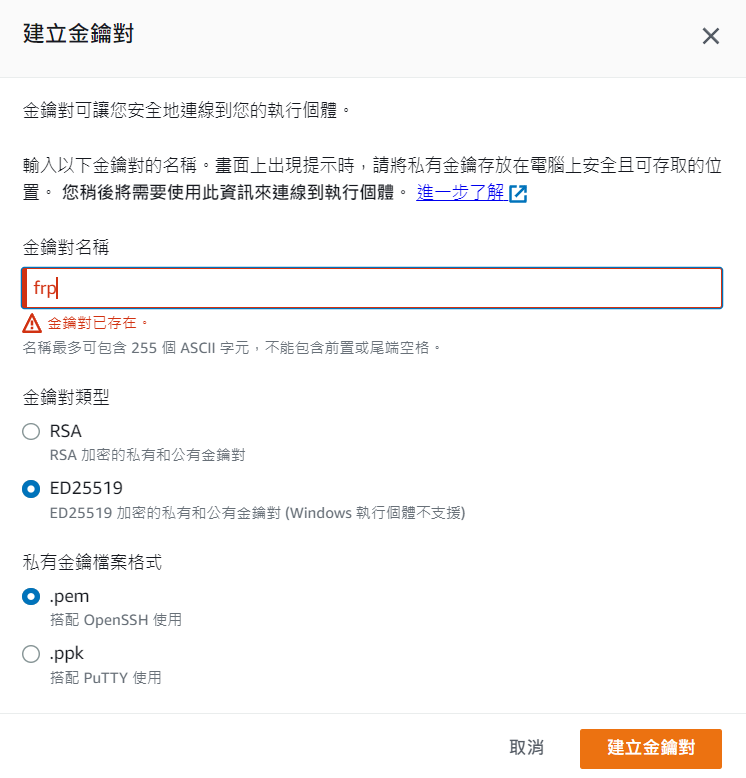
- 執行個體類型選 t2.micro,金鑰由於安全因素,請建立新的金鑰對(key pair)

- 由於我使用 ubuntu 22.04,故使用 ED25519 來加密(RSA 已被淘汰)。下載下來的 pem or ppk 需要好好保存,未來不能再下載。
- 網路設定的部分,ssh 的 source 使用
我的IP,不要一開機就被陌生人打穿。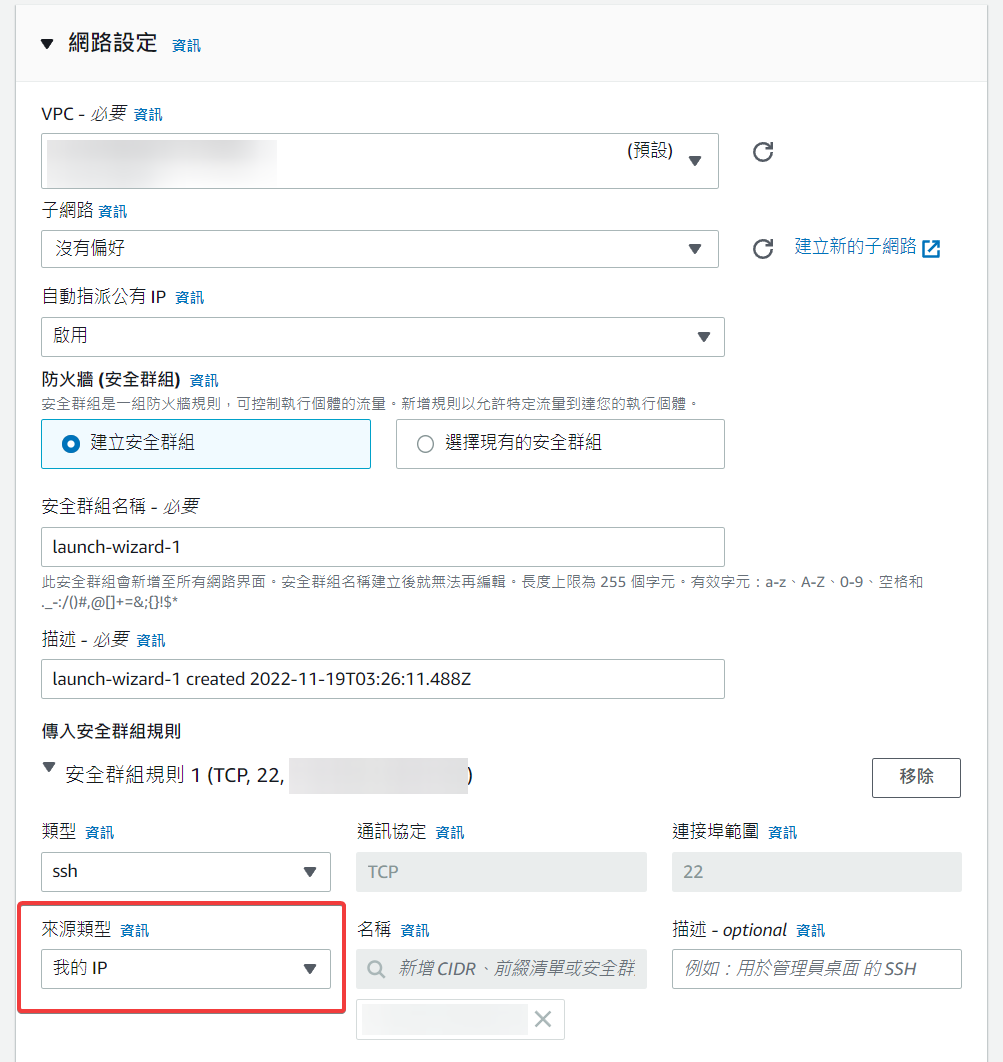
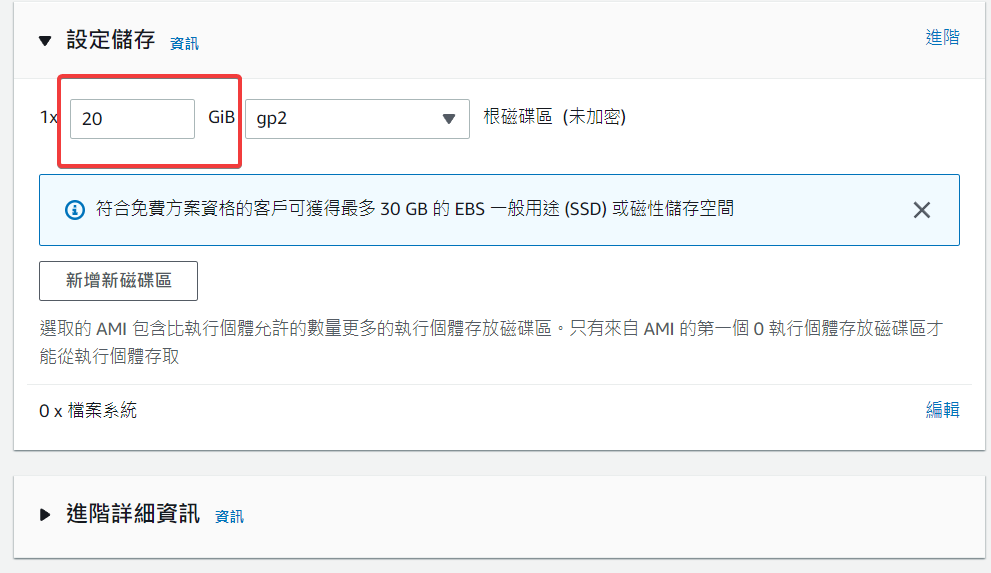
- 設定存儲的部分,若是使用 AWS Linux 的話可以預設 8GB 沒問題,我自己的 ubuntu vm 習慣 20GB,所以設成 20GB。
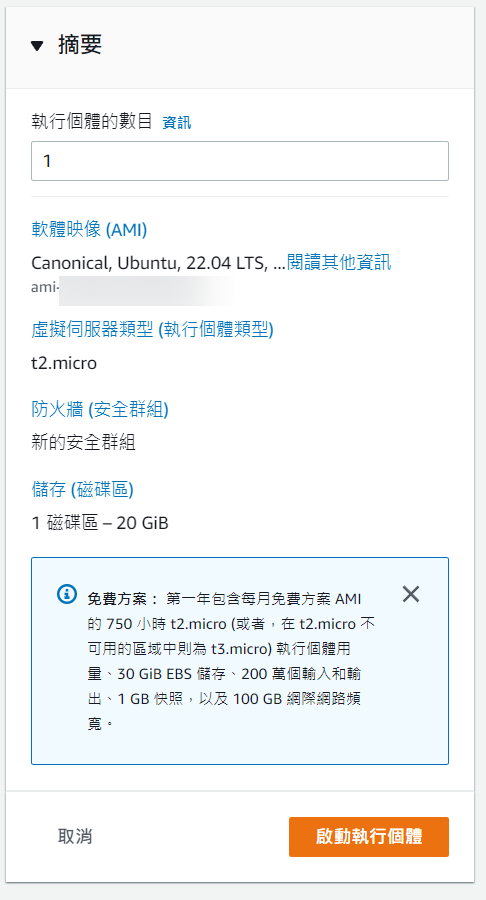
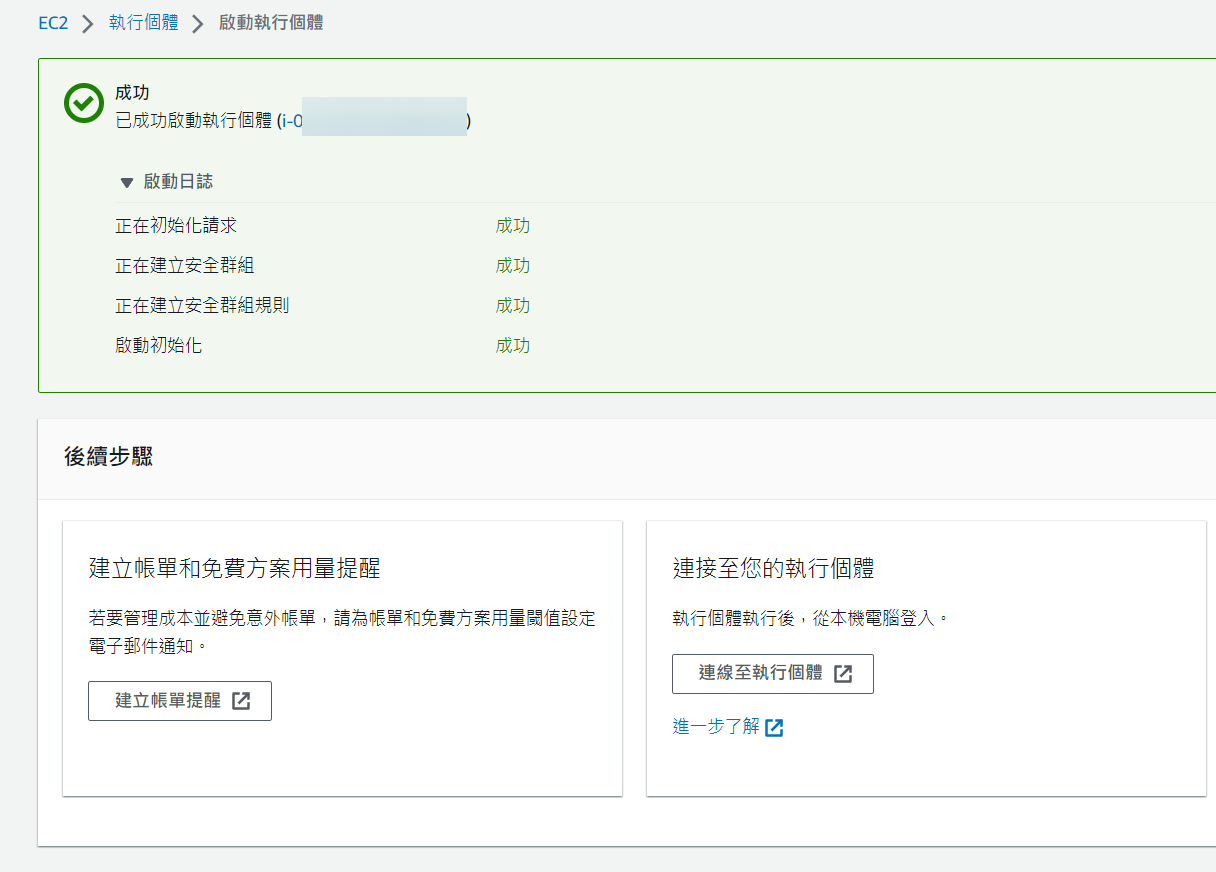
- 最後確認一下右邊的摘要,就可以點擊啟動執行個體。
- 建立完成後就會轉跳至完成頁面。
ssh 連線至 EC2
-
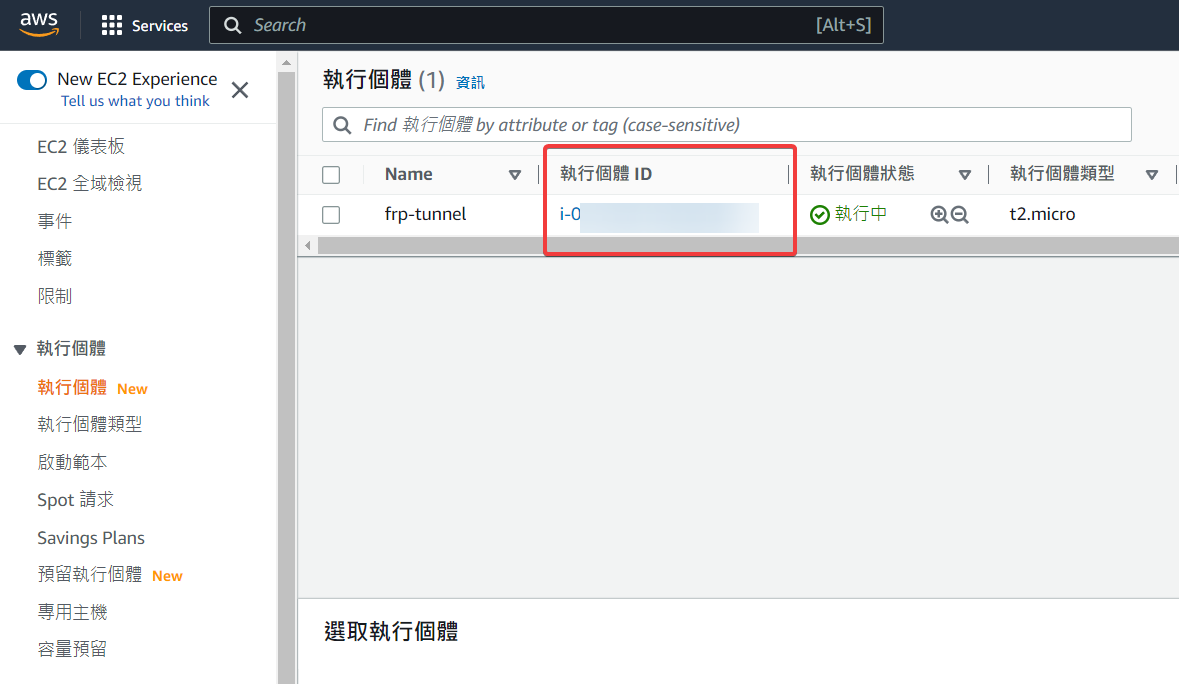
在 console 頁可以看到剛剛建立的 EC2 instance,點擊可以進入 instance 頁面。
-
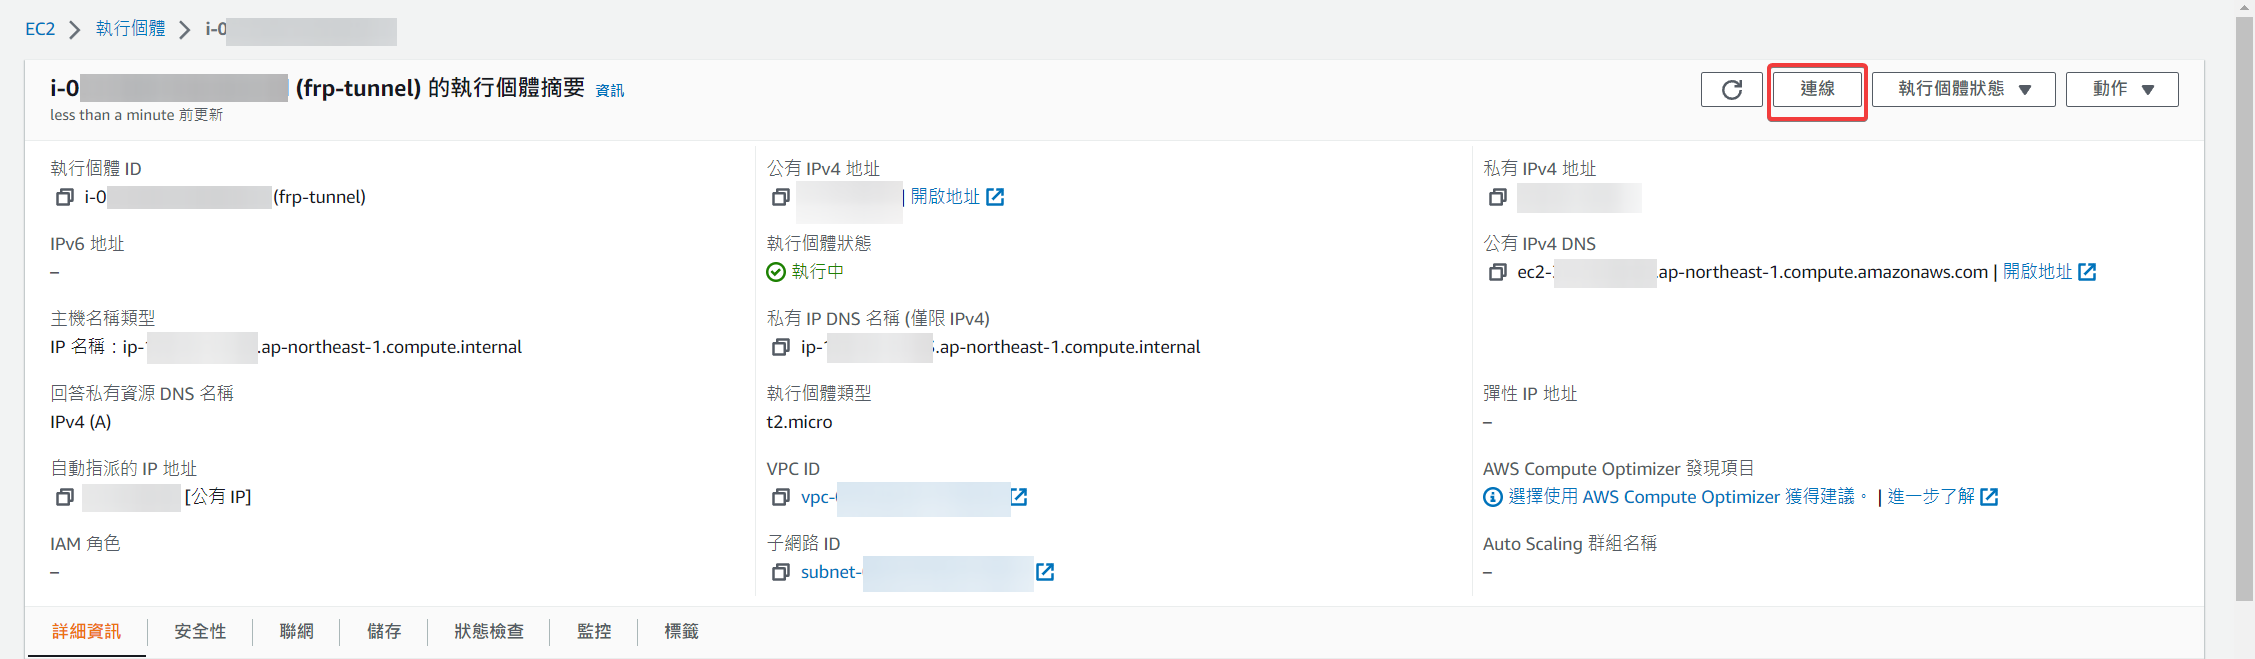
在頁面內點擊右上角的連線
-
在頁面內點擊右上角的連線
-
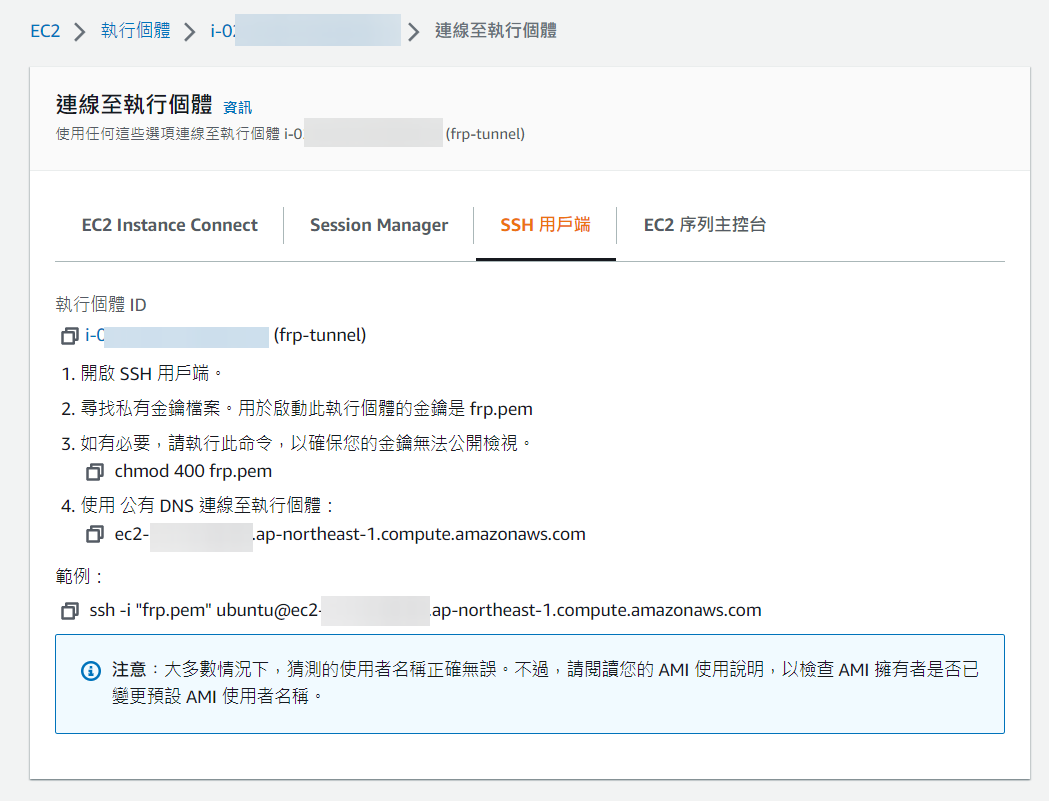
AWS 會提示你如何連線進來。
-
(linux)把剛才自動下載的 frp.pem 複製進喜歡的地方。
bash cp frp.pem ~/.ssh chmod 400 ~/.ssh/frp.pem -
指定 pem 連線進 ec2
ssh -i "~/.ssh/frp.pem" ubuntu@ec2-x-x-x-x.ap-northeast-1.compute.amazonaws.com

e.g.

❯ ssh -i "~/.ssh/frp.pem" ubuntu@ec2-x-x-x-x.ap-northeast-1.compute.amazonaws.com
Welcome to Ubuntu 22.04.1 LTS (GNU/Linux 5.15.0-1023-aws x86_64)

 * Documentation:  https://help.ubuntu.com
 * Management:     https://landscape.canonical.com
 * Support:        https://ubuntu.com/advantage

  System information as of Sat Nov 19 07:21:22 UTC 2022

  System load:  0.0                Processes:             98
  Usage of /:   10.4% of 19.20GB   Users logged in:       0
  Memory usage: 24%                IPv4 address for eth0: 172.31.11.93
  Swap usage:   0%

 * Ubuntu Pro delivers the most comprehensive open source security and
   compliance features.

   https://ubuntu.com/aws/pro

0 updates can be applied immediately.


Last login: Sat Nov 19 05:26:17 2022 from 118.150.124.91
ubuntu@ip-172-31-11-93:~$
https://ithelp.ithome.com.tw/articles/10234881
FRP 設定
server(EC2)
-
至 frp github release 頁面下載最新的壓縮檔
wget https://github.com/fatedier/frp/releases/download/v0.45.0/frp_0.45.0_linux_amd64.tar.gz tar -zxvf frp_0.45.0_linux_amd64.tar.gz mv frp_0.45.0_linux_amd64.tar.gz frp rm frp_0.45.0_linux_amd64.tar.gz -
cd 進入 frp 資料夾後修改
frps.ini,修改 frp server 的設定檔。bind_port: frp server port,公 frp client 連線使用token: 任意填,在設定 client 時需跟 frpc.ini 內的 token 保持一致。dashboard_port: 儀表板端口dashboard_user: 儀表板使用者dashboard_pwd: 以表板密碼
[common] bind_port = 7000 token=12345678 dashboard_port=7500 dashboard_user=frp-admin dashboard_pwd=xxxxxxxx -
建立 frps service,使用 systemd 啟動
sudo echo <<EOF > /etc/systemd/system/frps.service [Unit] Description=FRP Server Daemon [Service] Type=simple AmbientCapabilities=CAP_NET_BIND_SERVICE ExecStart=/home/ubuntu/frp/frps -c /home/ubuntu/frp/frps.ini Restart=always RestartSec=2s LimitNOFILE=infinity [Install] WantedBy=multi-user.target EOF啟動 frps
systemctl daemon-reload systemctl enable frps systemctl status frps -
記得到 AWS 的安全群組修改防火牆,最少先新增 port 7000 與 7500。

-
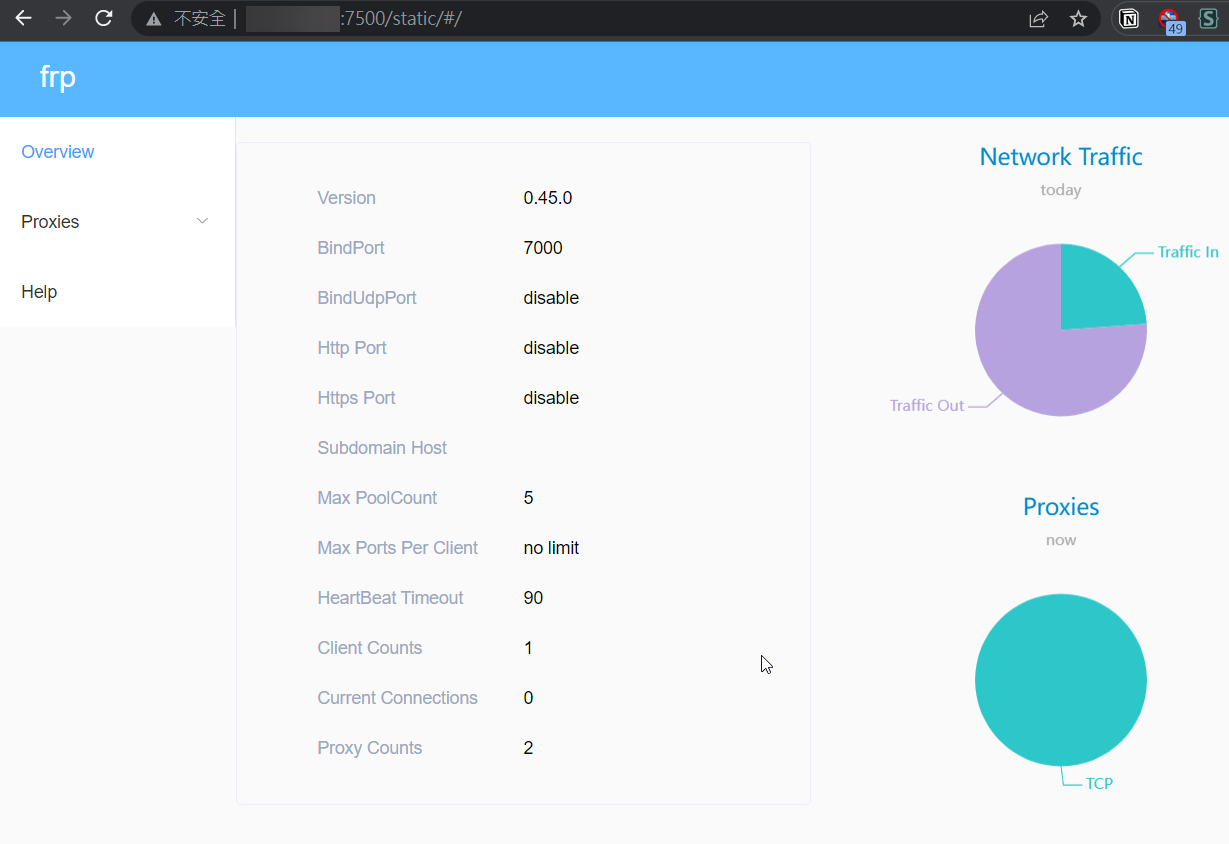
新增完後可以在網頁開啟 http://公網IP:7500,連線至 frp 儀表板,若無法開啟,請確認防火牆是否開啟、frp service 是否正常執行。
client(linux)
-
同樣至 frp github release 頁面下載最新的壓縮檔
wget https://github.com/fatedier/frp/releases/download/v0.45.0/frp_0.45.0_linux_amd64.tar.gz tar -zxvf frp_0.45.0_linux_amd64.tar.gz mv frp_0.45.0_linux_amd64.tar.gz frp rm frp_0.45.0_linux_amd64.tar.gz -
進入 frp 資料夾後修改
frpc.init,修改 frp client 的設定檔。[common] server_addr = x.x.x.x server_port = 7000 token=12345678 [ssh] type = tcp local_ip = 127.0.0.1 # local_ip = 192.168.x.x local_port = 22 remote_port = 6000 -
建立 frpc service,使用 systemd 啟動
sudo echo <<EOF > /etc/systemd/system/frpc.service [Unit] Description=FRP Client Daemon After=network.target Wants=network.target [Service] Type=simple ExecStart=/home/raiven/frp/frpc -c /home/raiven/frp/frpc.ini Restart=always RestartSec=20s LimitNOFILE=infinity [Install] WantedBy=multi-user.target EOF啟動 frps
systemctl daemon-reload systemctl enable frpc systemctl status frpc
測試
-
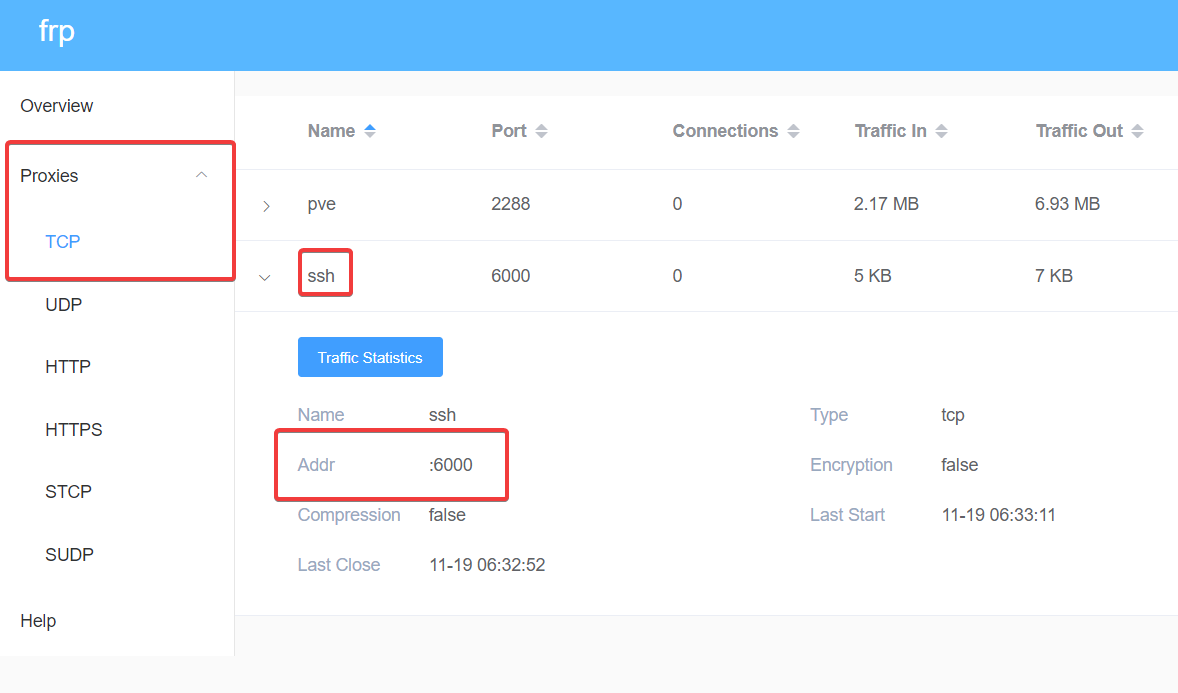
可以到 frp dashboard 上檢查 client 是否已經連接成功,會看到新增的 proxies。
-
確保 AWS 安全群組(防火牆)已經開啟 TCP 6000 後可以測試 ssh 是否連線成功,是否能連進內網。
ssh {公網 IP} -l {使用者} -p {端口}

e.g.
ssh 1.2.3.4 -l ubuntu -p 6000